The process of making the products for TaylorCustom has changed a lot over the years. In the beginning, I would make pencil sketches, and transfer them to a hard green wax used by jewelers, which I would then spend endless hours whittling. Making things in real life is a lot less forgiving than doing the same work with CAD tools. Many of my pieces went through several iterations before I achieved a satisfactory result… and yet other pieces never made it.
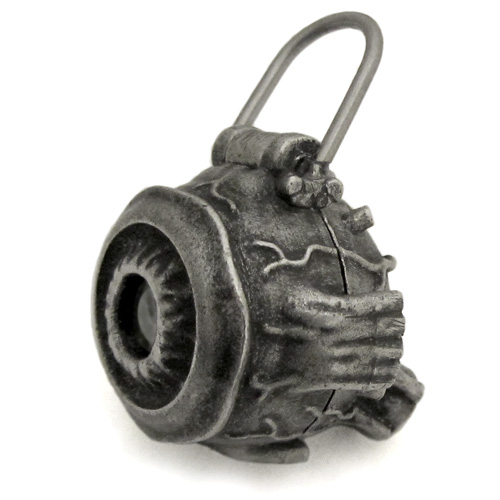
Read the explanatory captions of the photos below to learn more about the process. This page gives an in-depth account of the creation of one of my more complex items, the anatomical eye with optics, and this page describes my transition to using high-tech tools for model making.
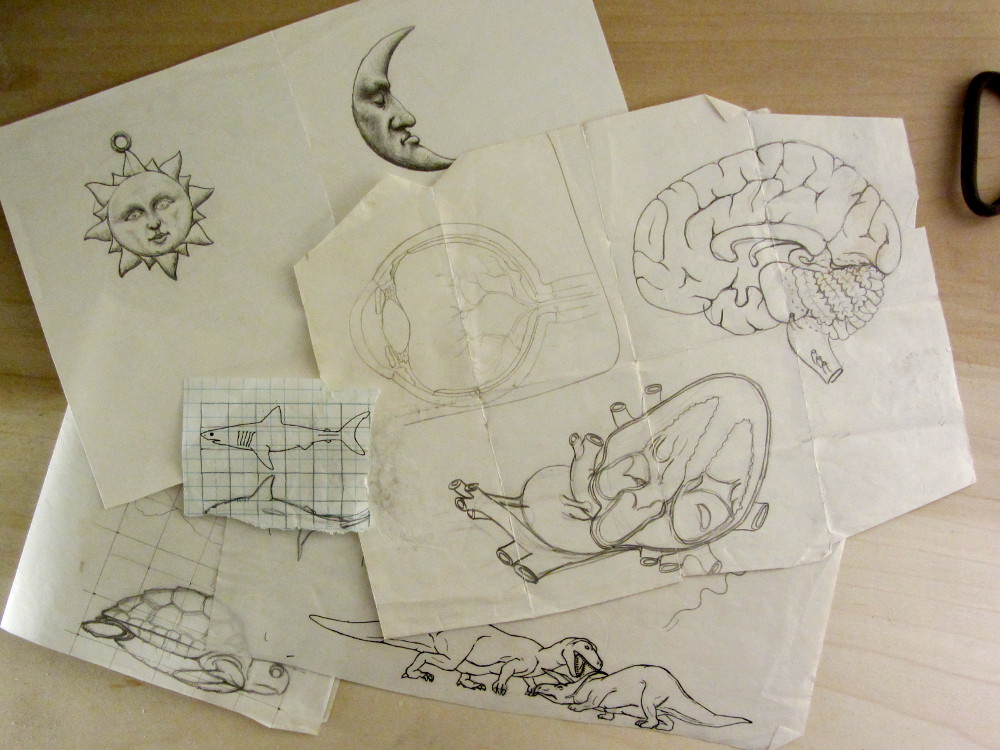
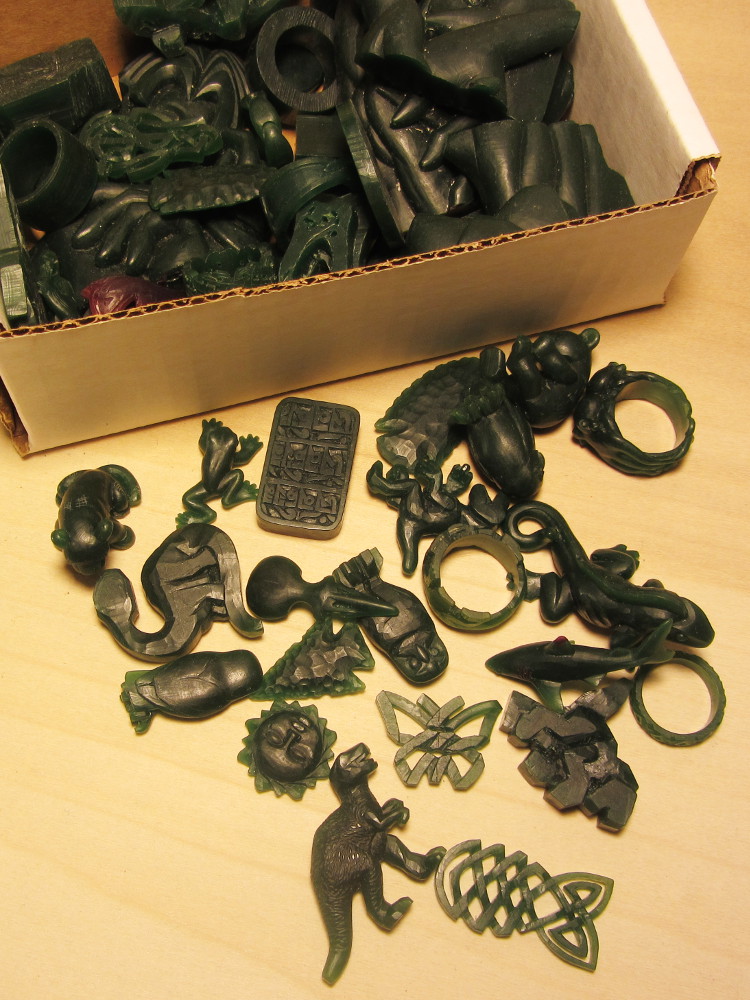
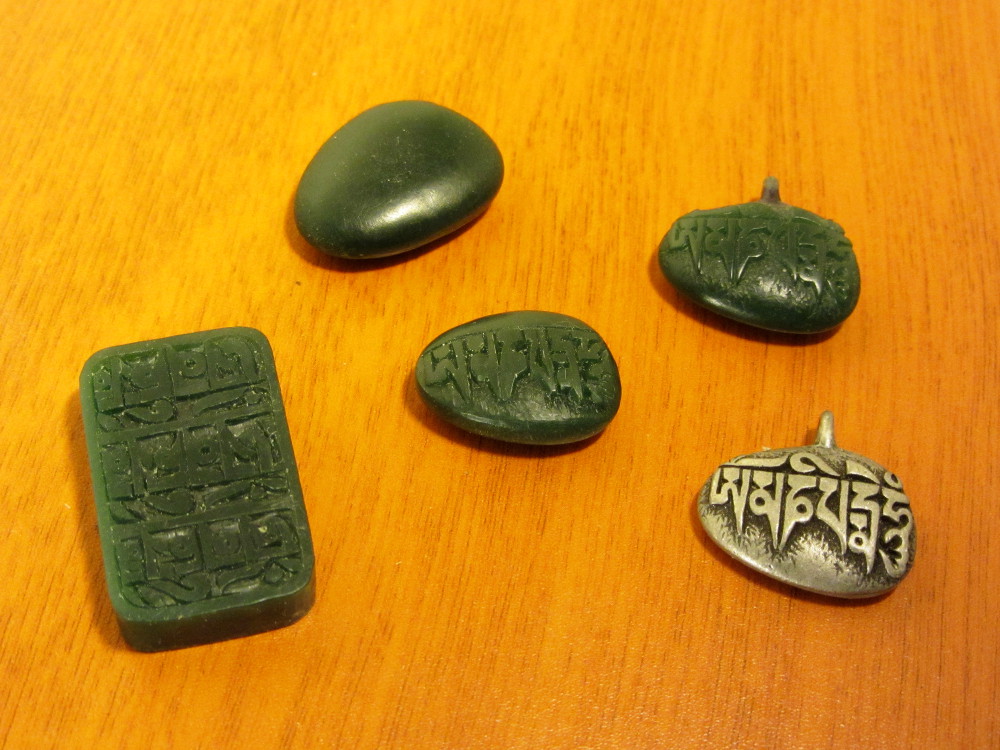
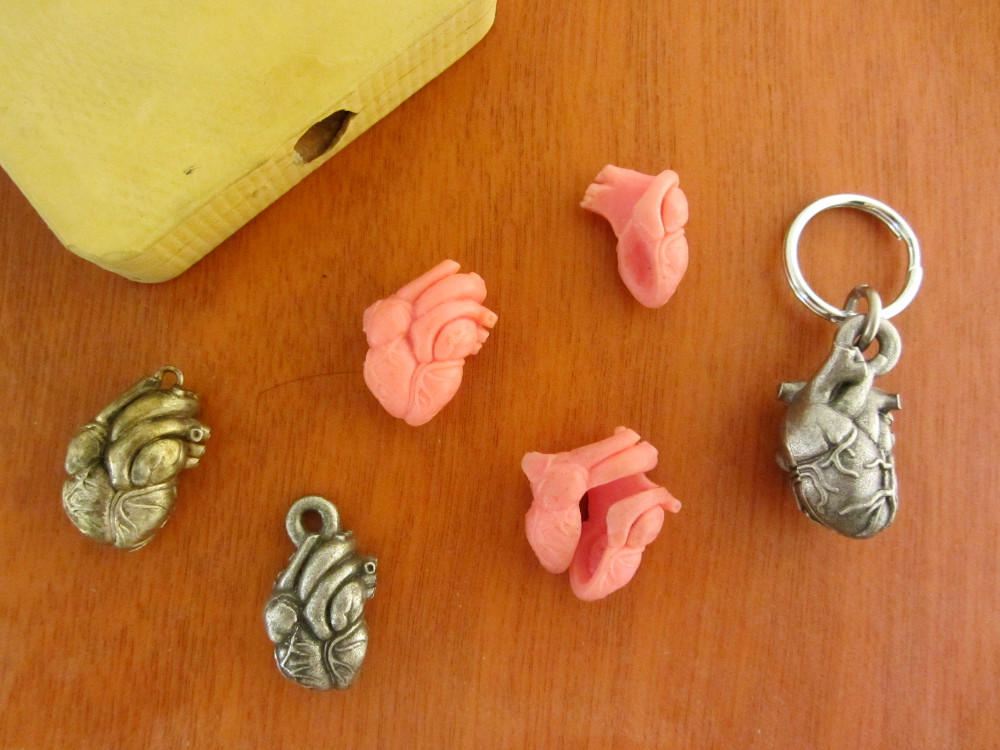
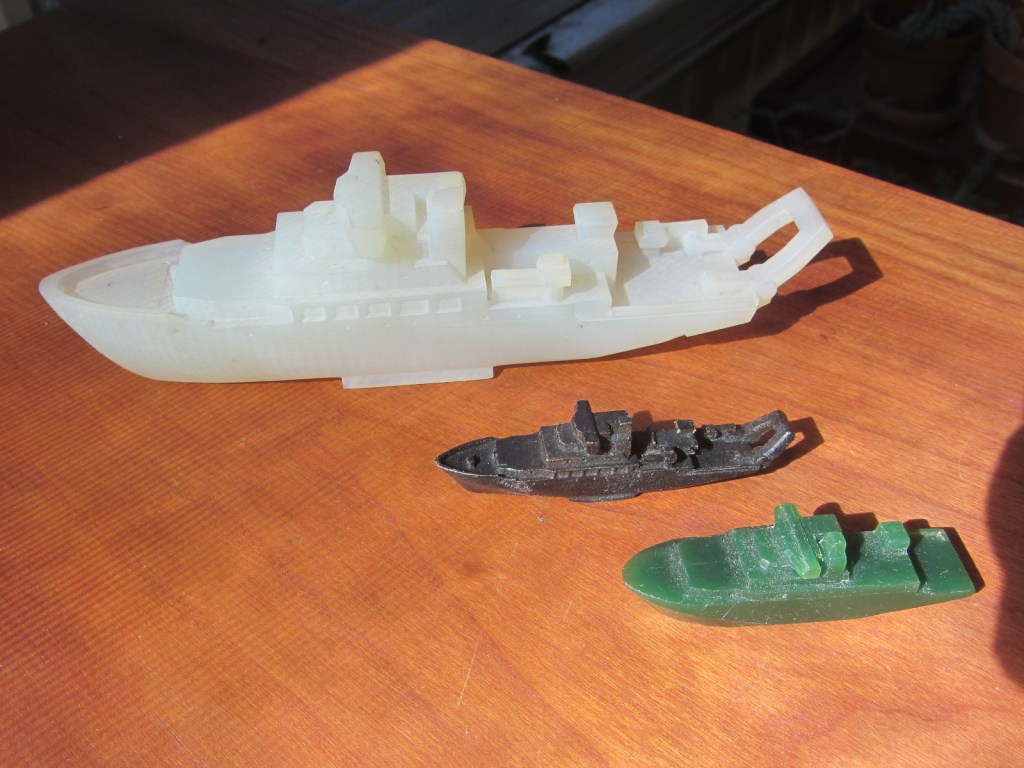
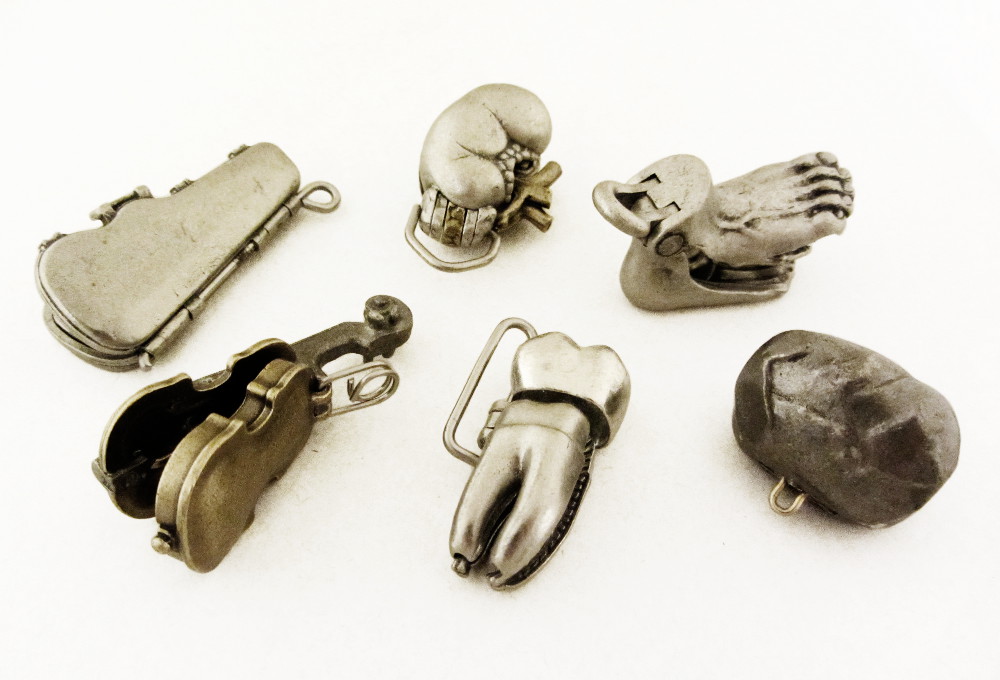
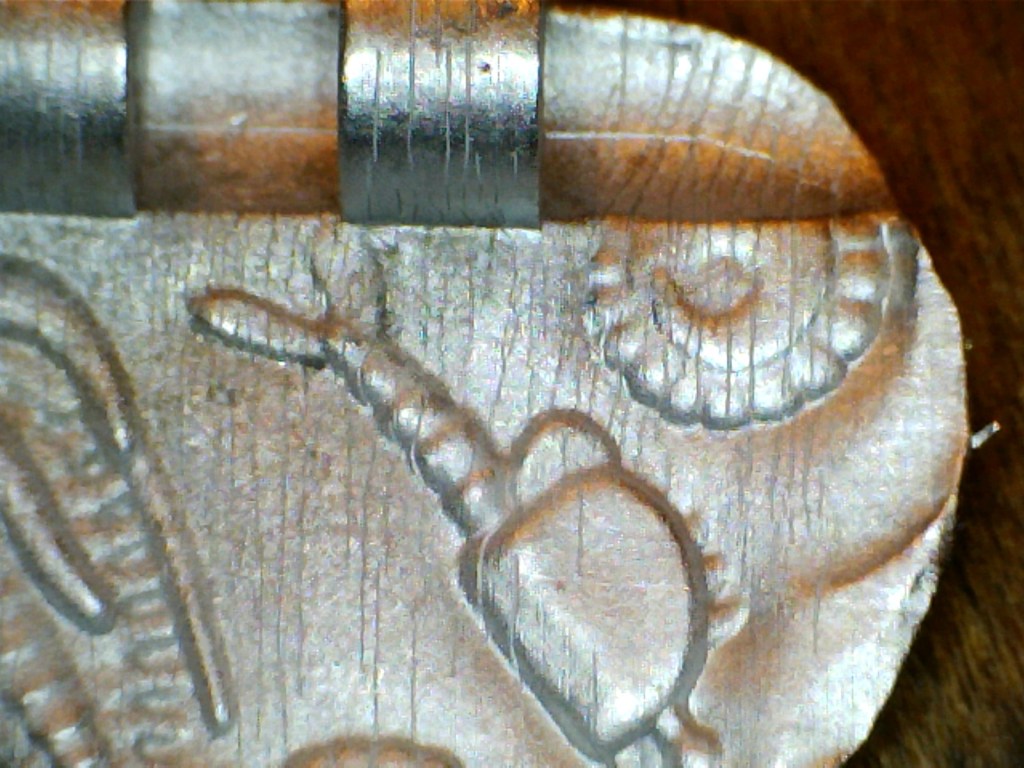
In preparation for carving my earliest items I made these sketches. On some you can see the grid I drew in order to transfer the designs to the wax.Here is a big box of wax carvings that didn’t make the grade. Each one represents many hours , days, etc. of painstaking whittling!Making things in real life is a lot less forgiving than doing the same work with CAD tools. I went through several iterations before I got a satisfactory mani-stone.The heart was my first locket-style item. Items from left to right are: 1) hand-carved heart keychain. 2) pewter casting of hand-carved heart (with enlarged loop). 3) duplicate pink waxes of the first heart made with a traditional Jewlers rubber injection mold (in upper left). I dropped this effort partway through. 4) The actual heart locket that I made years later using CAD and 3d printing.The submarine on the left was to be my first CAD-only design, but in the end I wound up carving the piece by hand. Later, when it came time to make the sub’s mother ship (with all of its little portholes etc., I got partway into carving it, and decided that it was time to try the CAD way… and so the ship on the right is my first computer generated piece.The process of transitioning from hand-carving to CAD-modeling was fraught with difficulties… The large ship in the back is a 3d print in which I forgot to specify metric units!For years, I have done contract design work using several CAD packages, experience that came in handy as the locket-style pieces became increasingly complex!Since my first locket style item (the heart locket introduced in 2010), I have used a lot of variations on the design of the hinge.One technical issue encountered in the early days of 3d prints, was the inability to withstand the vulcanized rubber molding process.Click on the link below to see the in-depth account of the creation of one of my more complex pieces, the Anatomical Eye Keychain.